There’s just something about a peanut butter sandwich that never gets old. It’s quick, easy, and hits that comfort-food spot every time. Perfect for busy mornings, a fast lunch, or even a snack when you’re craving something simple. All you need is bread and peanut butter, and you’ve got yourself a meal in minutes—no cooking, no stress. Plus, you can get creative with add-ons like jelly, bananas, or a little drizzle of honey. In this post, I’ll show you how to make a classic peanut butter sandwich, share some handy tips, and answer common beginner questions so even if it’s your first time, you’ll nail it.
Recipe of Peanut Butter Sandwich

Easy Peanut Butter Sandwich (Beginner-Friendly)
Description
This easy peanut butter sandwich is a classic American favorite that takes just minutes to make. Perfect for beginners, kids, college students, or anyone who wants a quick and affordable meal. With only two basic ingredients and no cooking required, this simple sandwich is great for breakfast, lunch, or a snack anytime.
Ingredients
InstructionsInstructions
Step 1
-
Prepare the bread
Lay two slices of sandwich bread flat on a clean plate or countertop. Make sure they are not stacked.
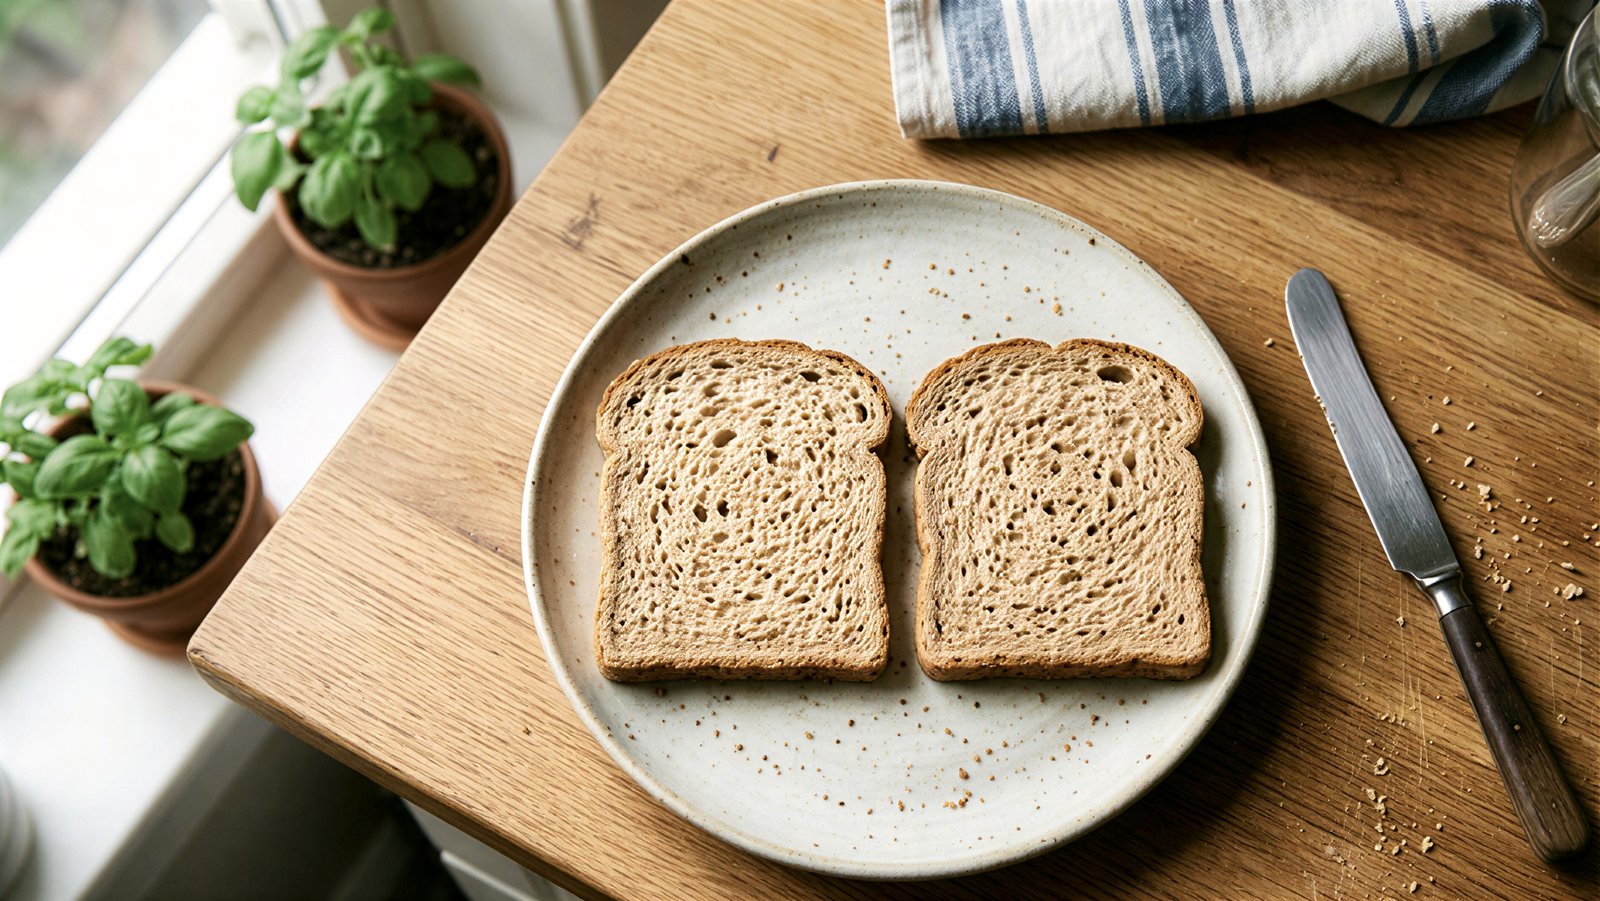 Using a plate helps keep your counter clean.
Step 2
-
Spread the peanut butter
Scoop 1–2 tablespoons of peanut butter with a butter knife. Spread it evenly on one slice of bread, starting from the center and moving toward the edges.
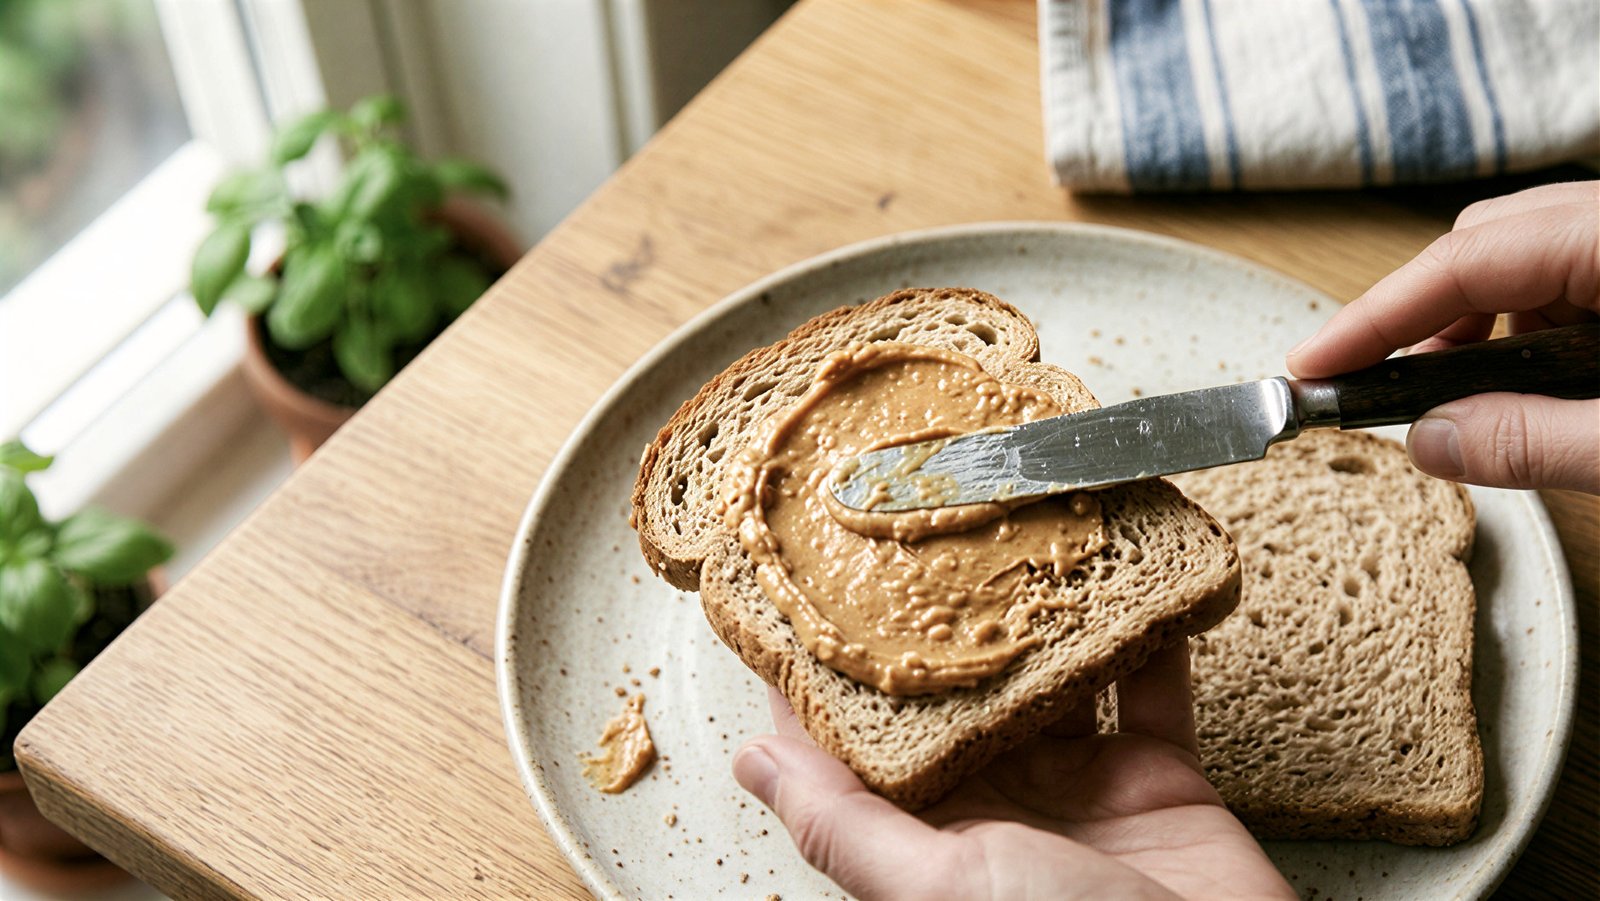 If your peanut butter is cold and stiff, let it sit out for 5 minutes to make spreading easier.
Step 3
-
Assemble the sandwich
Place the second slice of bread on top of the peanut butter-covered slice. Press lightly so it sticks together.
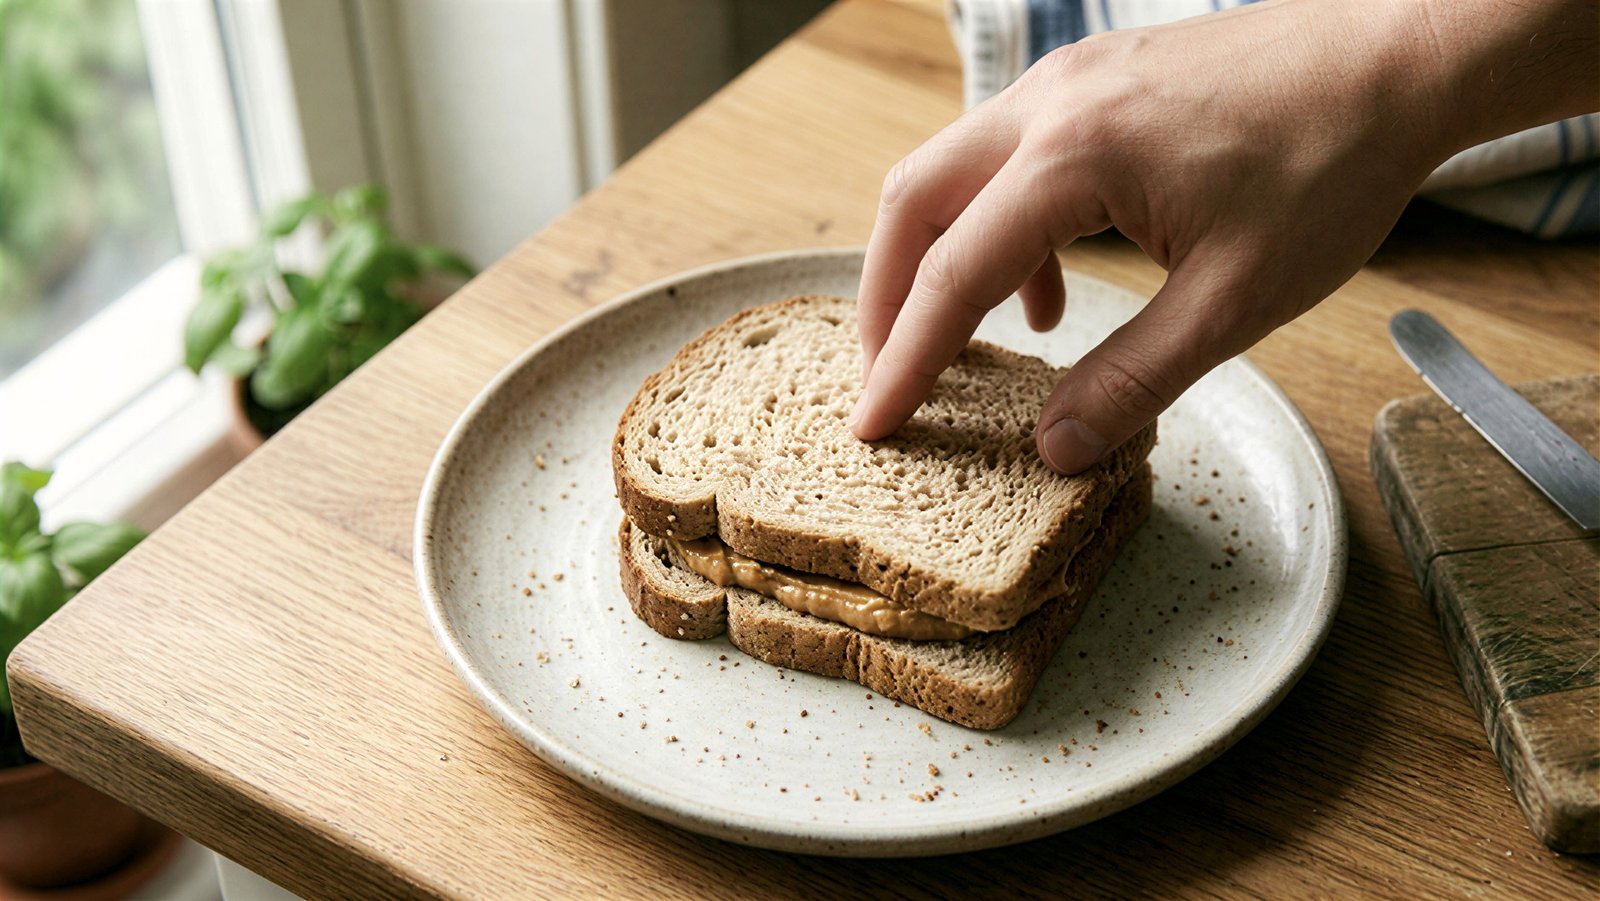 Make sure the edges are aligned for a neater sandwich.
Step 4 (Optional)
-
Customize your sandwich
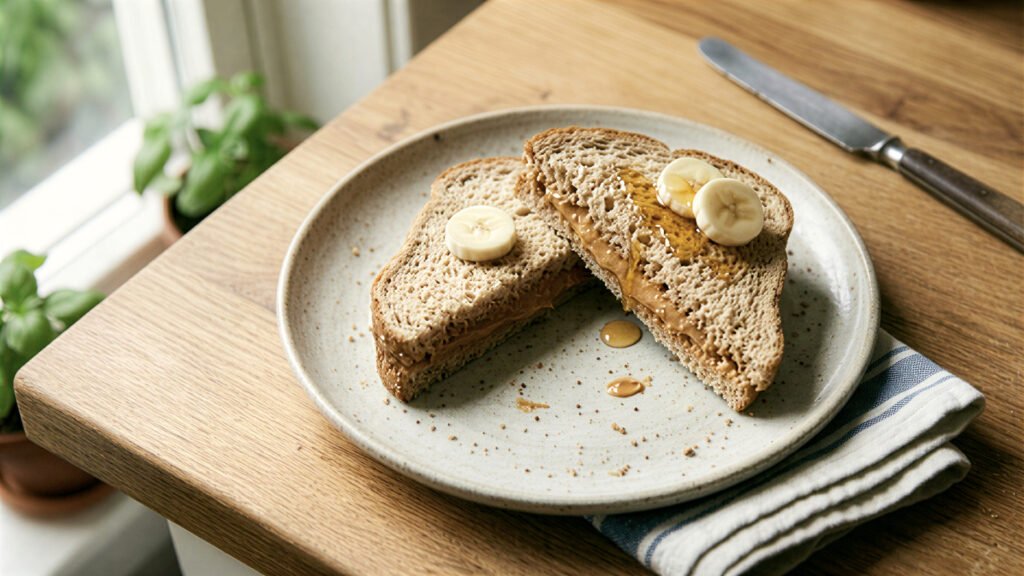
Add jelly, banana slices, or a drizzle of honey to enhance flavor.
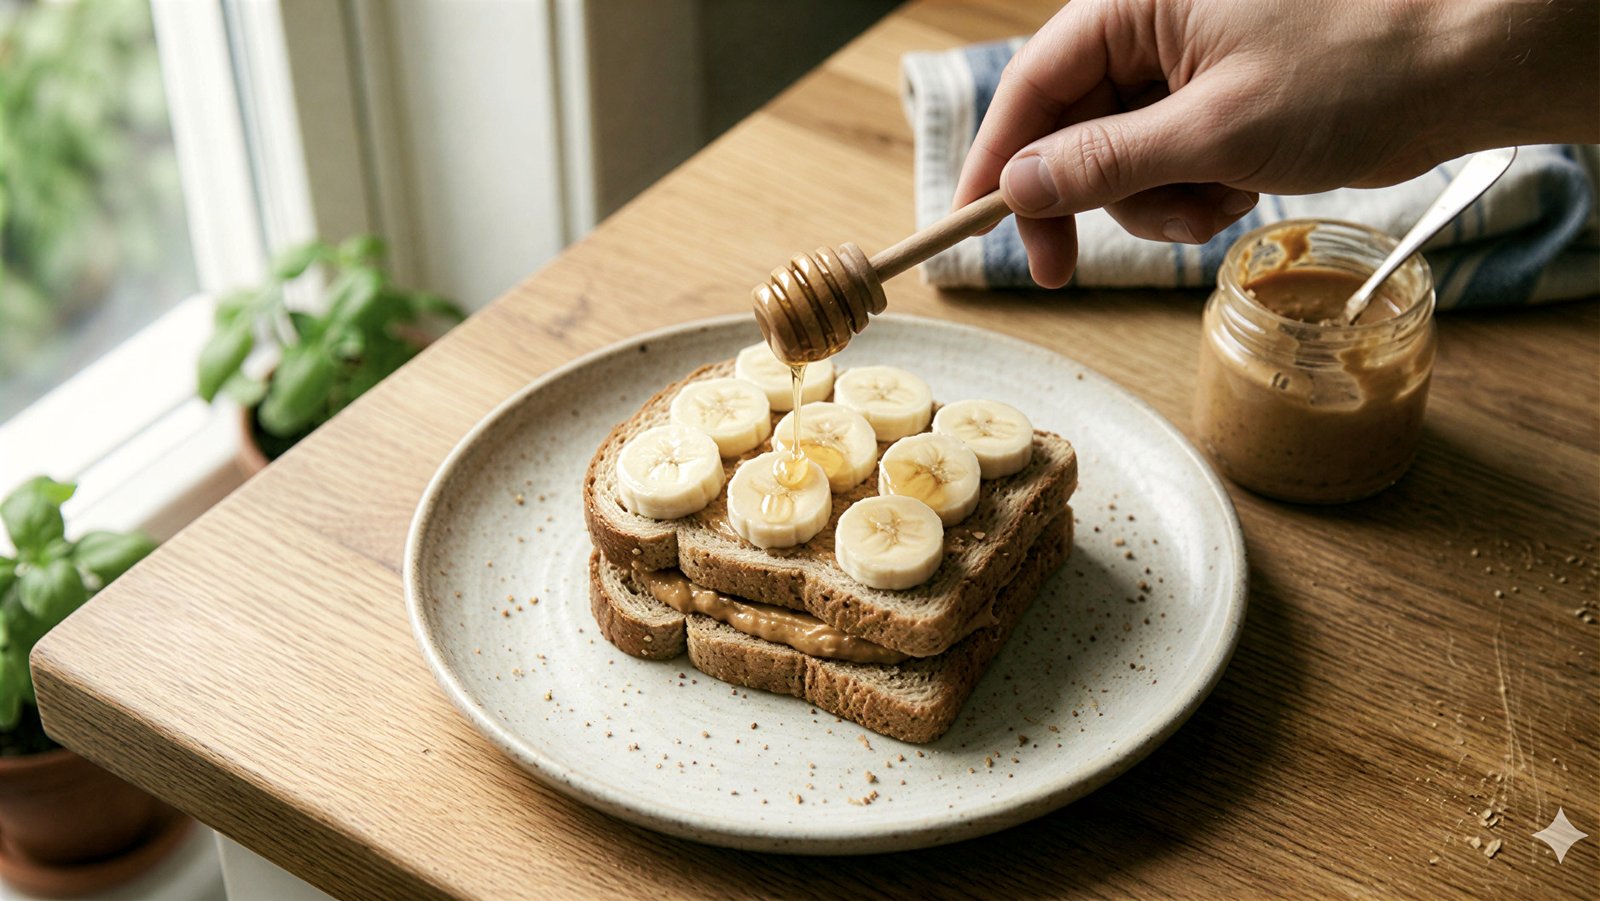 This step is optional — it turns your simple peanut butter sandwich into a PB&J or a sweet snack.
Step 5
-
Cut and serve (optional)
Slice the sandwich in half if desired. Triangles are classic, but a straight cut works too.
 Cutting is optional, but smaller pieces make it easier to eat, especially for kids.
Nutrition Facts
Servings 1
- Amount Per Serving
- Calories 375kcal
- % Daily Value *
- Total Fat 16g25%
- Saturated Fat 3g15%
- Sodium 300mg13%
- Potassium 200mg6%
- Total Carbohydrate 40g14%
- Dietary Fiber 4g16%
- Sugars 7g
- Protein 13g26%
- Calcium 40 mg
- Iron 2 mg
- Vitamin E 2 IU
- Vitamin K 2 mcg
- Thiamin 0.2 mg
- Riboflavin 0.2 mg
- Niacin 3 mg
- Vitamin B6 3 mg
- Folate 60 mcg
- Pantothenic Acid 0.5 mg
- Phosphorus 150 mg
- Iodine 10 mcg
- Magnesium 10 mg
- Zinc 1 mg
- Selenium 3 mcg
- Copper 0.2 mg
- Manganese 0.7 mg
- Chromium 1 mcg
- Molybdenum 5 mcg
- Chloride 300 mg
* Percent Daily Values are based on a 2,000 calorie diet. Your daily value may be higher or lower depending on your calorie needs.
Note
1.Warm the peanut butter slightly – Place the jar in a cup of warm water for 1–2 minutes to soften it. Makes spreading easier without tearing the bread.
2. Use a serrated knife for cutting – A small bread knife can cut neatly without squishing the sandwich.
3. Toast the bread lightly – Light toasting adds a little crunch without making the sandwich hard to bite.
4. Prevent sticking – Lightly butter the knife before spreading peanut butter to reduce sticking.
5. Layer with care – Spread peanut butter first, then any add-ons (like jelly or banana) to keep the bread from getting soggy.
6. Make bite-sized pieces – Cut the sandwich into small squares or sticks for kids or easy snacking.
7. Add texture with toppings – Sprinkle a few oats, chia seeds, or crushed nuts over the peanut butter for extra crunch.
8. Store extra sandwiches safely – Wrap in wax paper or airtight containers to keep them fresh for lunchboxes.
9. Use one hand for spreading – Hold the bread down gently with one hand while spreading with the other to avoid slipping.
10. Clean as you go – Keep a damp paper towel nearby to quickly wipe off sticky fingers or knife drips — makes cleanup super fast.